x

Capitoli principali

  1. LimeSurvey Cloud vs LimeSurvey CE
  2. LimeSurvey Cloud - Guida rapida
  3. LimeSurvey CE - Installazione
  4. Come progettare un buon sondaggio (Guida)
  5. Iniziare
  6. Configurazione di LimeSurvey
  7. Introduzione - Sondaggi
  8. Visualizza le impostazioni del sondaggio
  9. Visualizza il menu del sondaggio
  10. Visualizza la struttura del sondaggio
  11. Introduzione - Domande
  12. Introduzione - Gruppi di domande
  13. Introduzione - Indagini - Gestione
  14. Opzioni della barra degli strumenti del sondaggio
  15. Sondaggio multilinguale
  16. Guida rapida - ExpressionScript
  17. Funzionalità avanzate
  18. Domande frequenti generali
  19. Risoluzione dei problemi
  20. Soluzioni alternative
  21. Licenza
  22. Registro delle modifiche alla versione
  23. Plugin - Avanzati
 Actions

Inserimento dati

From LimeSurvey Manual

Revision as of 07:47, 2 August 2023 by Maren.fritz (talk | contribs) (Created page with "<center>File:Posizione pulsante schermata di immissione dati.png</center>")


Per aprire l'accesso al pannello di inserimento dati, accedi ad una delle impostazioni relative al sondaggio, seleziona la voce di menu Risposte e clicca sul pulsante Schermata inserimento dati.


File:Posizione pulsante schermata di immissione dati.png


This function is not intended to be available to your participants. When LimeSurvey was first developed, it was intended as a data entry system for paper-based surveys. The Data Entry screen is intended to be used when entering returned surveys on a mass basis. Later it has been designed to allow for keyboard based entry (using tabs, space bar, arrow keys, number pad, and keystrokes).


Once accessed, a data-entry panel should look like this:
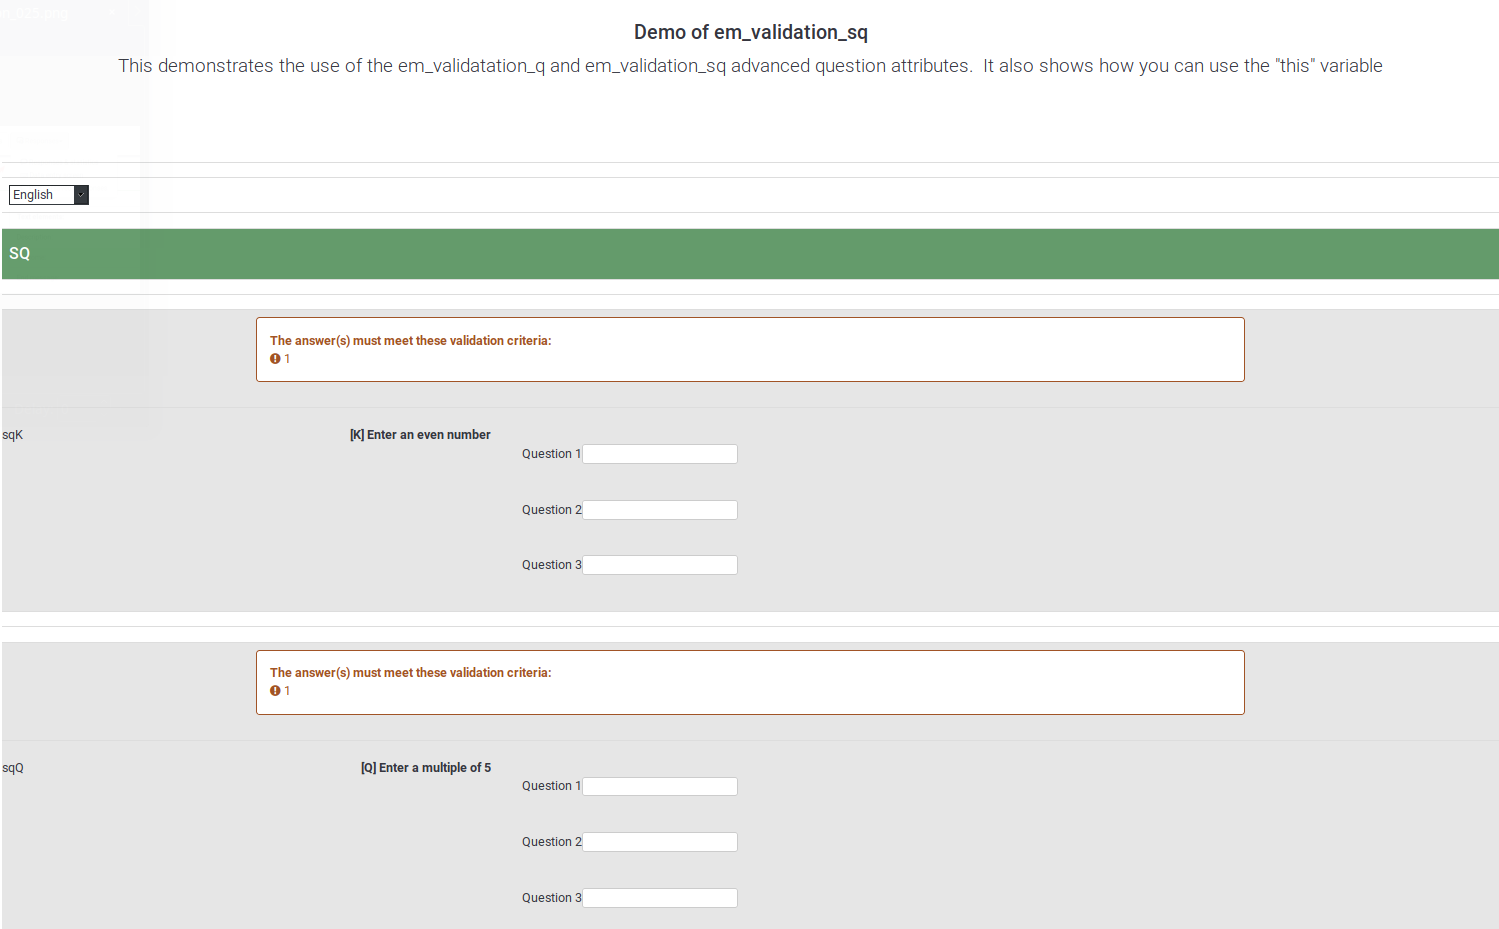


Keyboard shortcuts that can be used while adding your data into the response table: tabulator key (move to the next question) and shift key + tabulator key (move to the previous question).

If you scroll down to the bottom of the page, two options can be selected:

  • Finalize response submission:
    • adds a submit date entry to the record making it available as a full response when browsing responses or computing statistics
    • marking the token code as used (if the survey uses a survey participants table)
If the "Finalize response submission" checkbox is not checked, then the answer will be considered as "not completely filled out", no submission date will be added to the record, and the token will remain available to the participant.
  • Save for further completion by survey user: it will be displayed as a saved but not submitted answer. This option is used in the case in which you wish to prefill some of the question answers for your respondent and then allow him or her to fill out the rest of the survey. The following options need to be filled in:
    • Identifier - it has to be unique
    • Password - the password that will be used by the participant to "sign in" on the survey to continue to fill it in
    • Confirm password - retype the above password
    • Email - the email where the to-be-filled-out survey URL is sent to
    • Start language - displayed only if additional languages are used.


Once saved, your respondent will receive an email that looks like this:
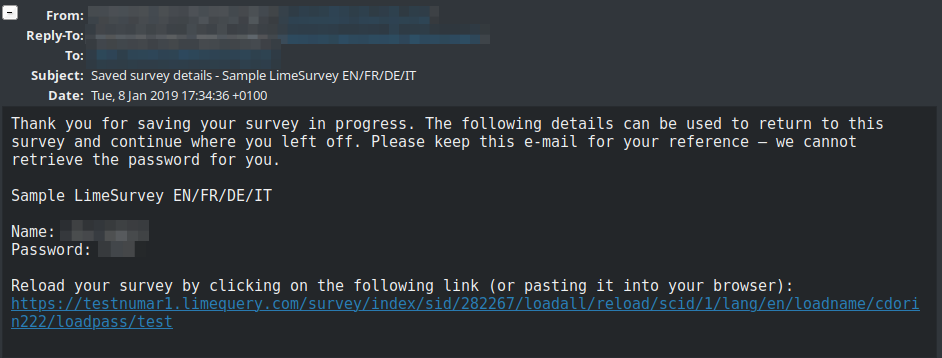


To continue filling out the survey, the respondent has to click on the link from the email. When asked for credentials, the name and password from the email have to be used.