Administering LimeSurvey
From LimeSurvey Manual
General
To administrate your LimeSurvey installation, click on the Configuration button located in the top toolbar of the user interface:

The menu contains three tabs: settings, users, and advanced.
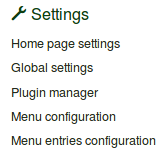
Settings tab
This tab contains five options with which you can customize your LimeSurvey installation:

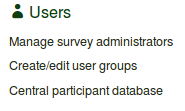
Users tab
The Users tab contains options related to the users and participants' management. If wish to offer different survey or/and global permissions to your employees/helpers, you have to create users to whom to grant permissions. For an easy management, the users can be grouped into user groups. The central participant database (CPDB) contains survey participants who are allocated to more than one survey or/and are shared with other LimeSurvey survey administrators. Three options are located under the Users tab:

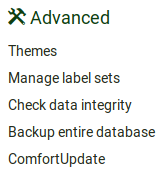
Advanced tab
You may find under this tab options that are nor users- or settings-related. The Advanced tab contains functionalities that you can use to enhance your survey or your LimeSurvey installation:
