First login - your user preferences
From LimeSurvey Manual
First Login
With LimeSurvey Cloud
After creating your LimeSurvey account, you will receive an email. This email contains the account activation link. Click the link to access your newly created account. Clicking the link takes you to your account on the LimeSurvey website.
You need to create a survey site before you can start creating and managing online surveys. Log in to your account and click Create survey site.
Create survey site link:

To create your LimeSurvey site:
(1) Enter your site name.
(2) Choose a domain name from the dropdown menu.
(3) Choose a server location.
(4) Click Save & Set Up LimeSurvey Site.
The process can take up to 20 seconds. When the process is complete, the window will close and you will be taken back to your account page.
You can now access your survey site by clicking View Survey Site at the top of the page.

Account login page:
Sign in to your account using your LimeSurvey.org credentials:
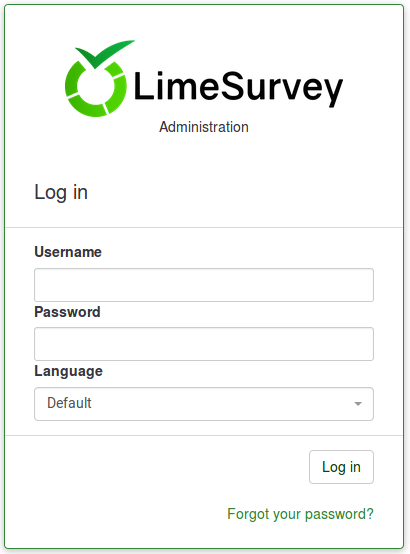
You are ready to start creating surveys.
Change your password
To change your password, use the Forgot your password? button located on the LimeSurvey administration login page.
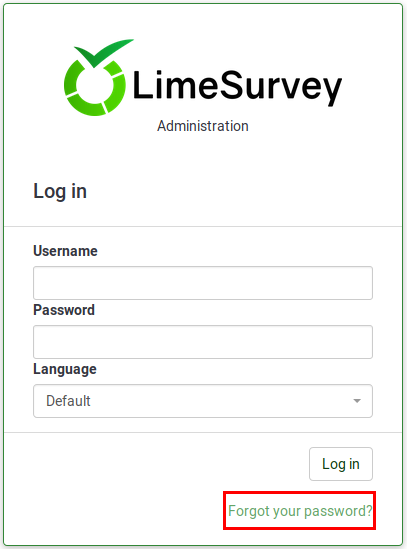
After completing the required fields, click the Check data button. You will receive an email with the necessary steps that need to be followed in order to reset your password.
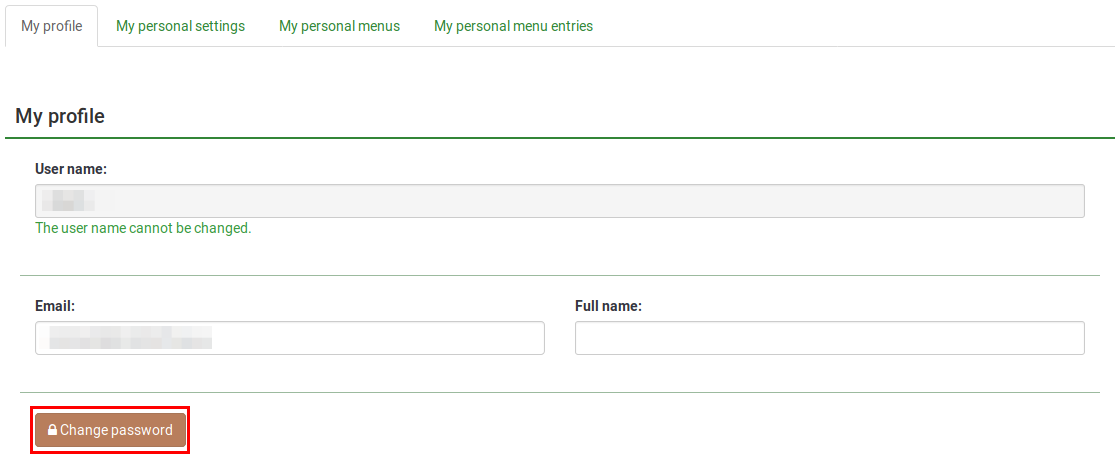
Another option to change your password is to do so from within your profile. Click your user name located in the upper right part of the screen (on the main LimeSurvey toolbar) and select the Your Profile tab.
Click the Change password buttonː
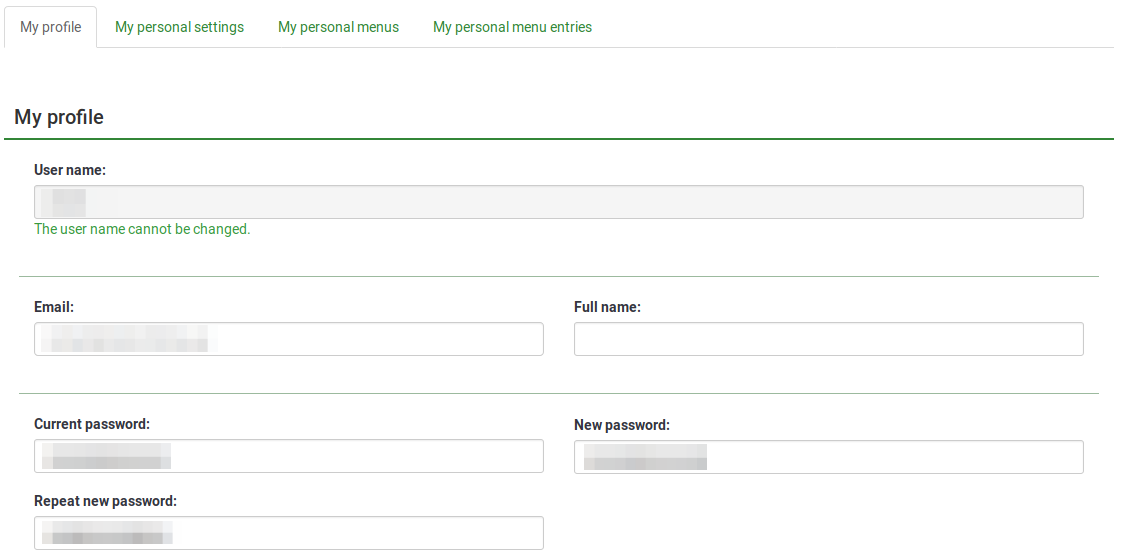
Type the current password, and the new password twice. Then, save the new profile settings by clicking Save located in the upper right part of the screen.
If you have superadmin permissions and one want to assist another user reset their password, you can do so by by using the User control panel.
From the Action column click the green pen that corresponds to the respective user and change their password.

With LimeSurvey Cloud
If you use LimeSurvey Pro, you can also reset your password from your LimeSurvey profile. From your LimeSurvey profile, click INSTALLATIONS (under the Profile Menu). Look for the RESET PASSWORD NOW button located in an orange box. Click it and a random password will be generated immediately.
Your account preferences
To change your user preferences, click your username which is shown on the LimeSurvey main toolbar and then click Your account.

Your account preferences toolbar contains four tabs:
- My profile: General details about your account;
- My personal settings: The user can choose the interface language and/or select other LimeSurvey-related editing modes;
- My personal menus (New in 3.0 ): A list with the survey menus created by the respective user;
- My personal menu entries (New in 3.0 ): A list with those menu entries that were created by the user.

My profile
The following options are found under the My profile tab:
- Username: Once created, it cannot be changed from the LimeSurvey interface. We recommend creating another user name instead of editing the configuration of your LimeSurvey installation;
- Email: Type your new e-mail and click the 'Save' button to save the settings;
- Full name: The name of the administrator;
- Password & Repeat password: If you want to change your password, type the new password twice and click the 'Save' button.
My personal settings
- Interface language: The language of the Limesurvey administrative interface;
- HTML editor mode: The inclusion of an integrated HTML editor;
- Question type selector: If 'Full selector' option is chosen, then a question preview will be shown when selecting the type of a new question to be added into the survey;
- Template editor mode: If 'full template editor' is selected, syntax highlighting will be used in the LimeSurvey template editor;
- Date format: chooses the default date format used in the administration interface.
- Show script field: The script field is specially intended for entering JavaScript while editing questions. This setting controls if it should be shown or not.
- Directly show edit mode: Indicates if edit mode should be shown by default when entering a question.
- Non-Numerical answer option prefix: Prefix to be used for answer options. It should be non numerical. If the prefix is "AO", answer options would be, for example, "AO001".
- Non-Numerical subquestions prefix: Prefix to be used for for subquestions. It should be non numerical. If the prefix is "SQ", answer options would be, for example, "SQ001".
- Lock question organizer in sidebar by default: If the question organizer should be shown or hide in the side bar.
- Create example question group and question: This setting specifies if an example question group and question should be created automatically after creating a new survey.
Interface language
You can select the administrative language preference during log in by using the dropdown list as shown below. After a successful login, the LimeSurvey interface will change to the chosen language. The system will record this preference setting in your profile and make it the default for your next login.
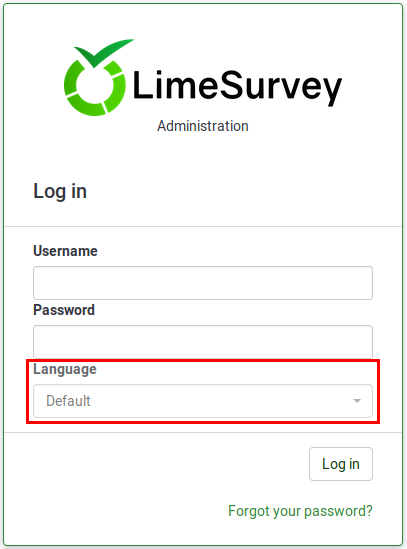
Some LimeSurvey setups hide or skip the login page to enable common authentication inside other applications. In this case, you won't have access to select the language. However, you can change your language preference from your account preferences. Access your account preferences by clicking your user name located in the upper right side of your browser and then the Your account button. Next, click the Your personal settings tab and select your desired language from the dropdown list located under Interface language.

HTML editor mode
There is an HTML editor integrated into LimeSurvey. This tool will help you develop rich formatting for your surveys, groups, questions, and answer text; for tables, and images. But as this editor takes extra space on the screen and resources on the computer, it is not always desirable to use. Therefore, four options are provided by LimeSurvey: default, inline HTML editor (selected by default), popup HTML editor, and no HTML editor.
Default
If the "default" option is selected, you will inherit the HTML editor mode selected by the superadminstrator from the global settings of the LimeSurvey installation.
Inline
In this case, the HTML editor is always used in-line on the page. It also represents the 'default' value.

Popup
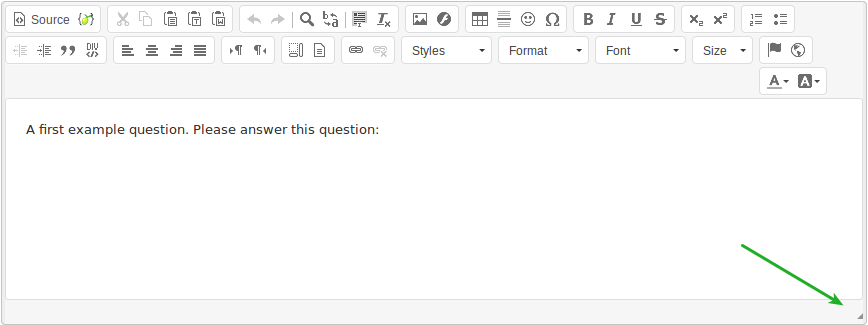
The normal text editor is used, but the HTML editor is available as a pop-up option. You can always get to the HTML editor by clicking on the icon on the right of the normal text editor window as shown for the popup option below

Fullscreen (Obsolete since 3.0)
This option is available only for inline editor. It allows you to increase the size of the editor to fill the browser window and then decrease it back later. (Obsolete since 3.0)

When switching between which editor you use, the last used editor before logout is recorded in your profile and will become the default at your next login.
Please note that when editing answers and labels, the normal text editor (or 'Popup' mode) is always used because of the larger number of windows.
Source code mode
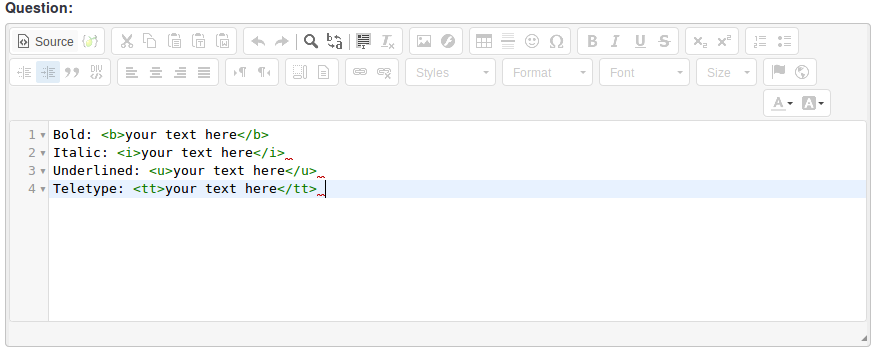
If you want to paste HTML or Javascript code directly, you must switch to the source code mode. This option is not available in your personal settings. However, it can be selected from the HTML editor menu.

You must disable the Filter HTML for XSS setting in order to store code entered in the source code mode (or to have superadmin permissions).
No HTML editor
If you do not want to use an HTML editor, select this option. You will be able to use only simple text in the surveys.
Question type selector
Choose 'Full selector' to get a question type selector with preview and 'Simple selector' to get a plain select box. The 'default' option corresponds to the option selected in the global settings of the LimeSurvey installation.
Template editor mode
Three options are available: 'default', 'full template editor', and 'simple template editor'. Choose 'Full template editor' to get an enhanced editor (with syntax-highlighting) when editing survey templates and 'Simple template editor' to get a plain editor field. The 'default' option corresponds to the option selected in the global settings of the LimeSurvey installation.
Date format
This setting sets the date format for your profile (e.g. when you browse the survey results or for other settings located in the administration panel). It does not affect the actual surveys.
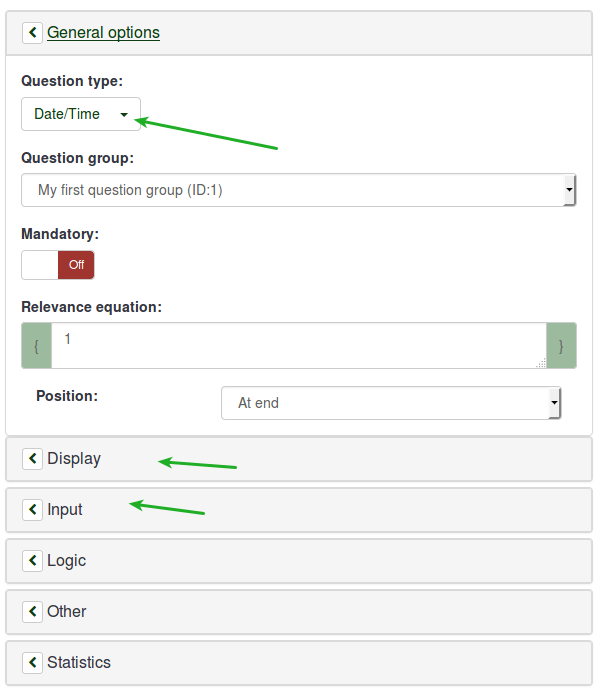
When creating a date/time question, you can set the date/time format when you edit/add a question. After you have chosen the date/time question format, type in the desired format you would like to use in the boxes located under the Input and Display tabs. For extra information, hover the mouse over the heading of each box.
You can visualise here the customized menus that are available to you or the ones you created via the menu configuration option.
To start editing them, access the Menu configuration option located within the Configuration menu.
You can visualise here the customized menus entries that are available to you or the ones you created via the menu entries configuration option.
To edit them, you need to access the Menu entries configuration option located within the Configuration menu.