Cấu hình mục menu
From LimeSurvey Manual
Chung
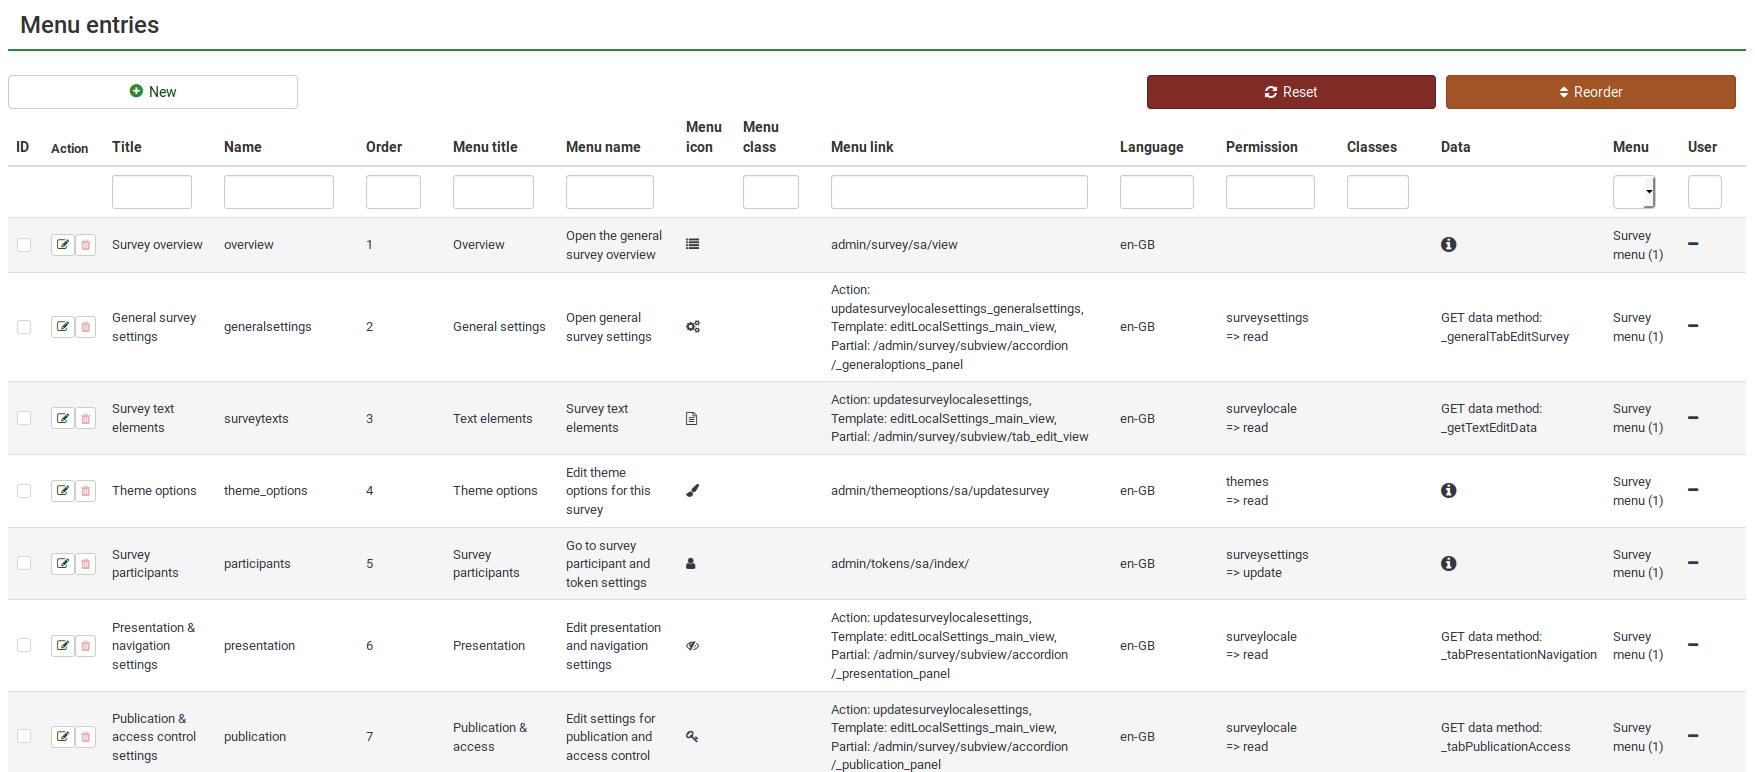
Để truy cập bảng mục menu, hãy nhấp vào Cấu hình rồi nhấp vào Cấu hình mục menu.

Chức năng này cho phép bạn tạo, chỉnh sửa hoặc xóa các mục menu. Để hiển thị/hiển thị, các mục này phải được thêm vào menu.

Có thể thực hiện các hành động sau:
- Tạo mục nhập menu
- Chỉnh sửa mục menu
- Xóa mục menu
- Sắp xếp lại mục menu
- Đặt lại các mục menu về giá trị mặc định
Để tạo một mục menu mới, hãy nhấp vào nút + Mới nằm ở phía trên bên trái của cửa sổ. Các tùy chọn menu sau sẽ được hiển thị:
- Menu: Chọn menu nơi đặt mục nhập mới (đọc wiki của chúng tôi về cách tạo menu tại đây);
- Name: Nhập tên của mục menu;
- Title: Tiêu đề của mục tương ứng sẽ được hiển thị trong menu hoặc trong các tab nhất định (ví dụ: trong tab cài đặt khảo sát)
- Ordering: Nếu có nhiều mục menu khác được thêm vào một menu, hãy sử dụng chức năng này để sắp xếp chúng.
- Tiêu đề menu :Trên một tab hoặc một mục menu, tiêu đề menu sẽ được hiển thị trên dòng đầu tiên. Ví dụ: nếu bạn nhấp vào Tổng quan, nằm trong tab Cài đặt khảo sát, bảng tổng quan sẽ được hiển thị với tiêu đề (menu): Tổng quan khảo sát
- Tên menu: Hiển thị khi bạn di chuột qua mục tương ứng. Ví dụ: nếu bạn di chuột qua Tùy chọn chủ đề, thông báo sau sẽ hiển thị: Chỉnh sửa tùy chọn chủ đề cho khảo sát này.
- Biểu tượng menu: Theo mặc định, tất cả các biểu tượng được sử dụng đều là những biểu tượng có phông chữ tuyệt vời. Để tìm các biểu tượng có sẵn khác, hãy kiểm tra link sau đây. Giới thiệu vào ô chuỗi nằm sau "fa fa-". Ví dụ: đối với đĩa mềm, chúng ta có "fa fa-floppy-o". Để sử dụng nó làm biểu tượng cho một mục menu, chỉ nhập "floppy-o".
- Các loại biểu tượng menu: Nó phụ thuộc vào loại được sử dụng trong chủ đề hiện tại của bạn. Để biết thêm chi tiết, hãy kiểm tra phần wiki.
- Menu class:
- Menu link: Liên kết mục menu với URL của chức năng đó
- Quyền:
- Cấp giấy phép:
To change the details of an already existing menu entry, click the green button located in the Action column. The respective menu will get selected and you can do the edits.
To delete a menu entry, click the red trash button that corresponds to that respective menu entry (located in the Action column).
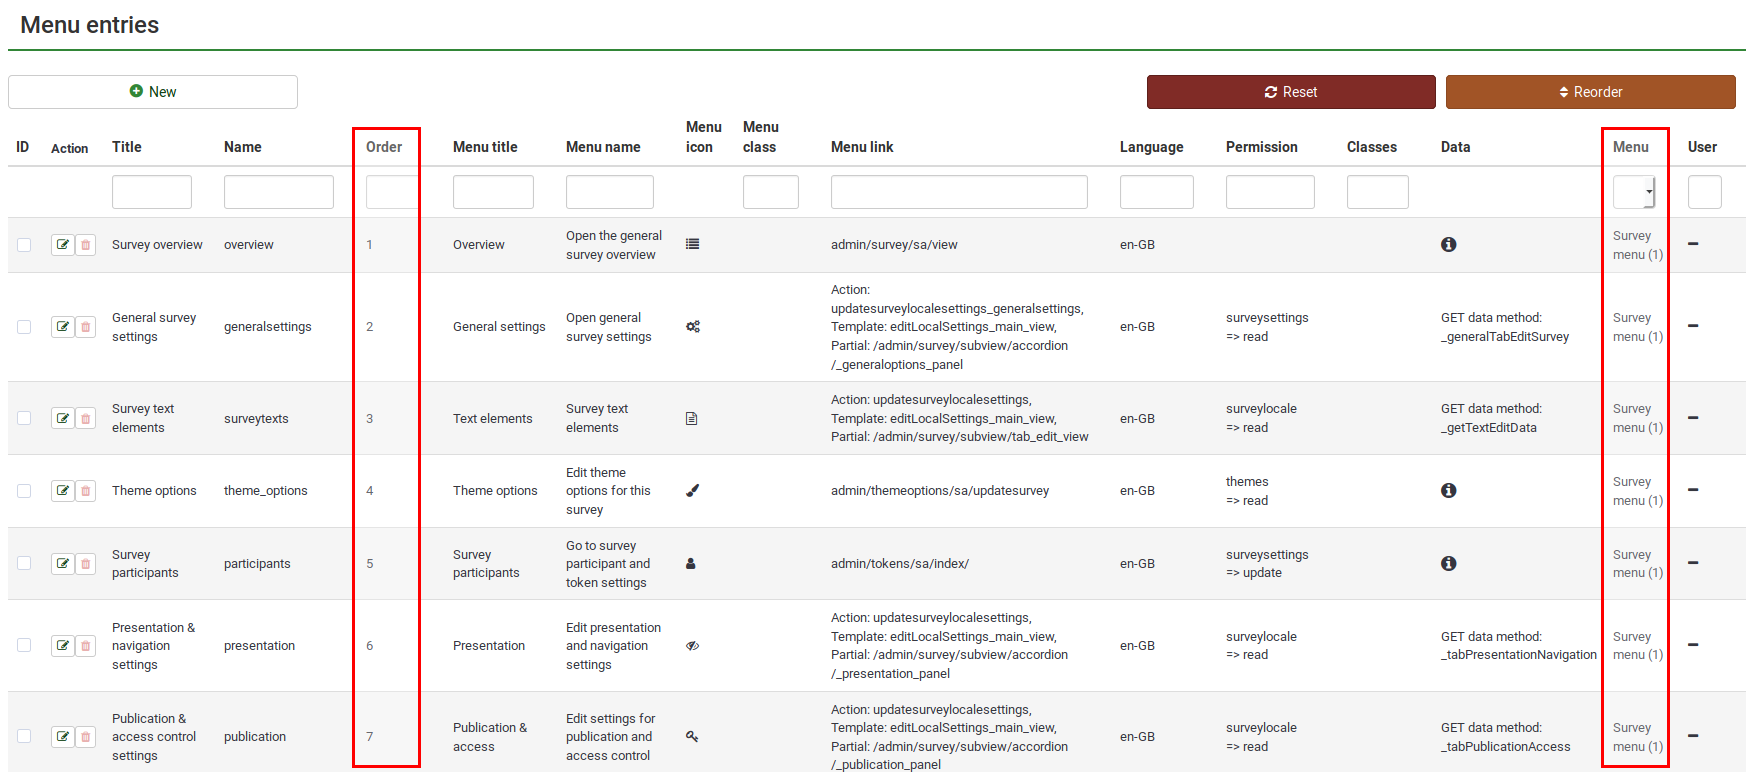
The ordering process takes first into account the menu an entry belongs to, and then it orders the entries according to the value from the order field. Once you change these values, click the reorder button to get the entries rearranged in the table.

To reset all the values of the survey menu entries to their default values, click the reset button located in the upper right part of the screen. A message will be displayed asking you to confirm the action. Please note that once you confirm the action, all the custom menu entries will be lost.
Examples
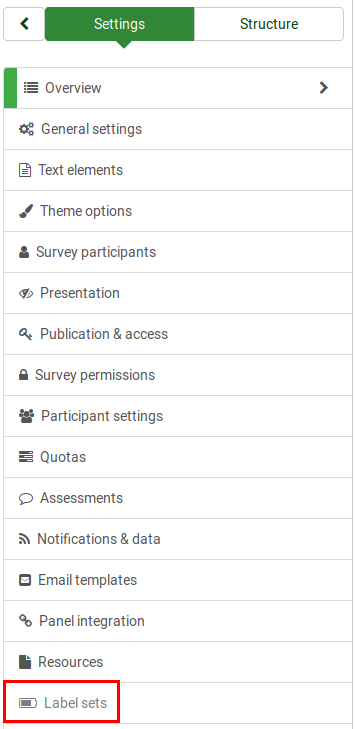
This example demonstrates how to add a Label sets menu entry to the default survey menu.
First, click the + New button located on the top left side of the screen and start completing the fields:
- Menu: Select from the dropdown list the menu you wish to add to the menu entry.
- Name: labelsets.
- Order: 20.
- Menu title: Label sets.
- Menu name: "Click here to edit the available sets."
- Menu icon: Check out the following link to find the right icon for the new menu entry. In the screenshot from above, I used "fa fa-battery-three-quarters".
- Menu icon type: Select from the dropdown box the "Fontawesome icon" option.
- Menu link: Find the URL of the option you wish to link the entry to, and copy everything after the website name (admin/labels/sa/view in our case):
Click the create button to verify that the new survey menu entry was added:

Check the survey menu to verify that the survey menu entry is functional:

When creating or editing a menu entry, you may find in the lower right part of the dialog the Toggle advanced options button. The following extra fields will be shown once you click it:
- Action
- Template
- Partial
- Classes
- Data
- Get data method
- Language
Once the edits are done, do not forget to click Save.